On October 12th 2011, our class of Art 320 along with our instructor Keith Christensen went over to the SCSU Printing Services. It is located in the basement of Brown building and it takes up about the entire basement. It is responsible for most of the printing and pre-printing jobs related with most of SCSU's work.
Here are few of the pictures of the employees, the work area and of what I managed to understand in our short little field trip.
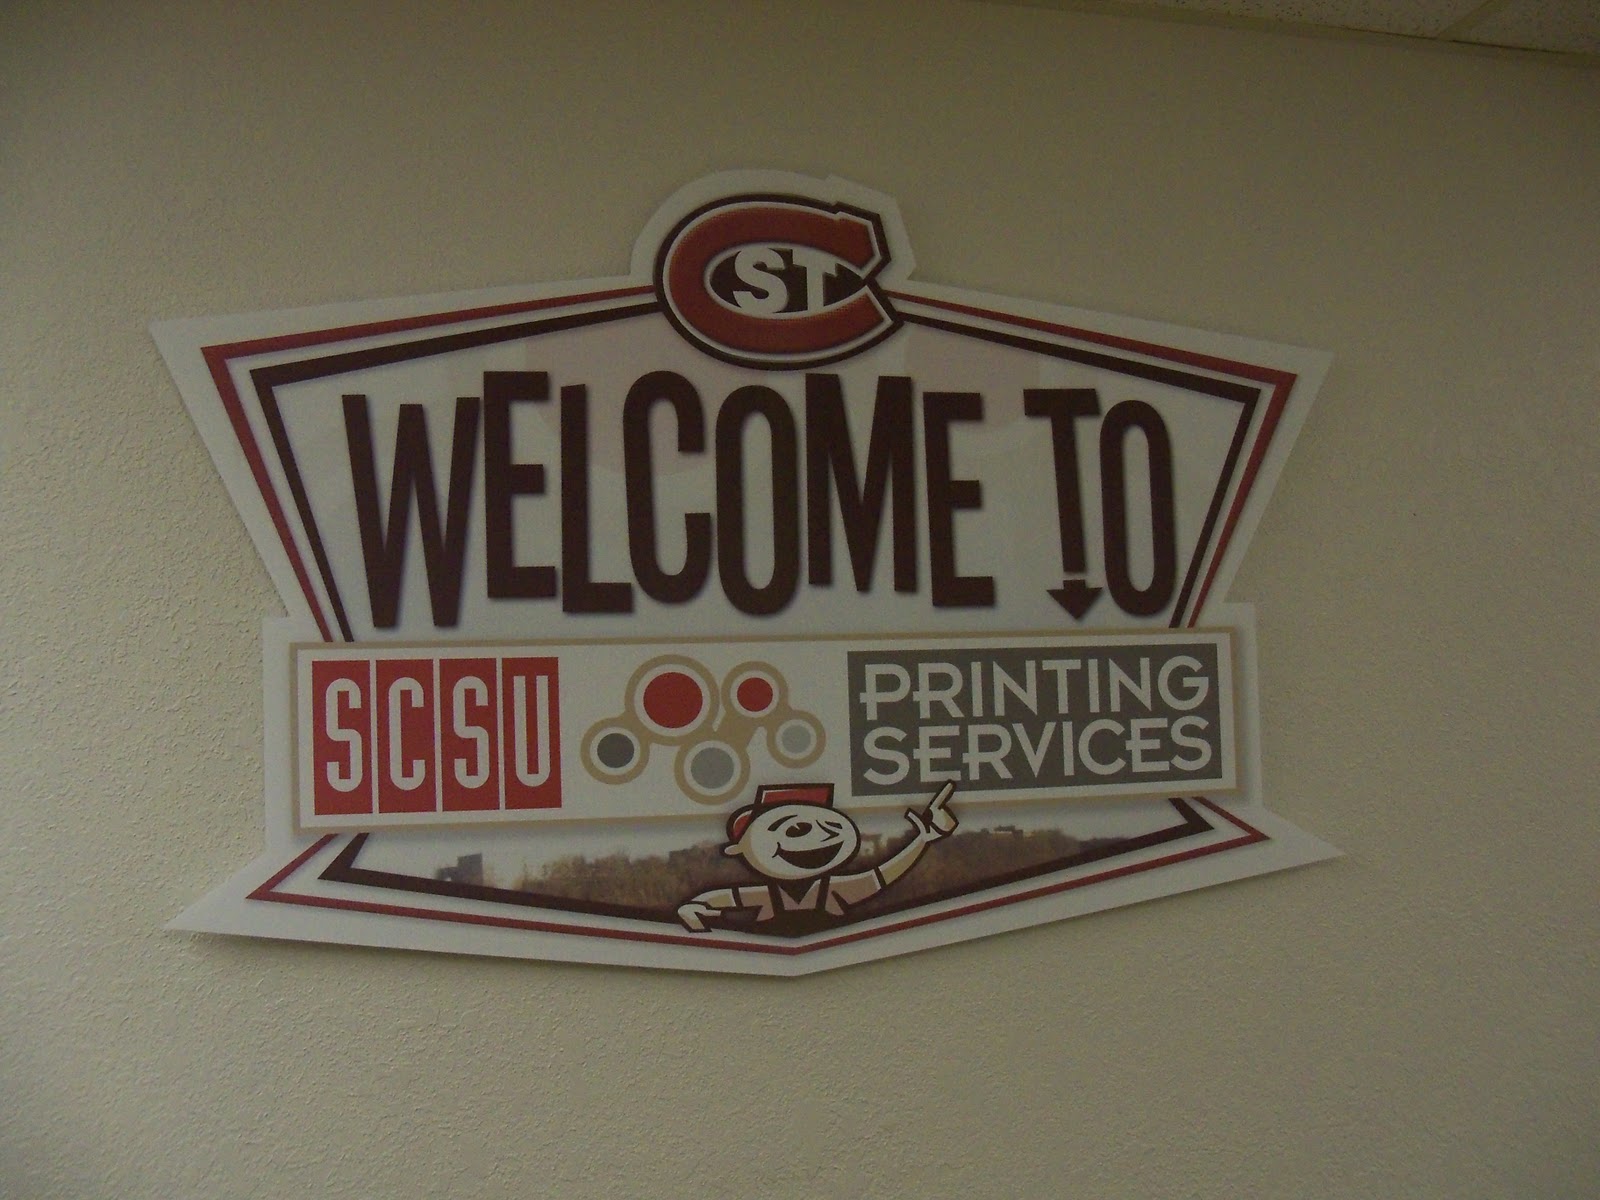
Let us start with this welcome sign. Not the most fancy work but I was surprised to know that it was done on plastic. The surface of it looks an ordinary cardboard. During printing, one of the surfaces is sprayed to make it look and feel shiny, and printer work on it with one color at a time, yet the process is fast enough. The layout it later cut and edited according to the specification.
Jeff John is the director of the printing services. His job is not only to give orders or make phone calls, but also to govern and manage the entire site. The day of our visit, he welcomed us and gave us a tour of the place. He explained us how things work, the machines do the job, the job the employees are responsible for and all the interesting and new things a lot of us were unknown about. He seemed like a very nice guy. Wish we had printing services privilege in our dept like all other places in SCSU.
I have absolutely no idea why did I even took this picture. This is just a very funny stream of design which got my eyes. I also wanted to see if I could capture the right color of this design without killing the light. No harm in having fun.
This is just of one of the work area. As we can see they have a multi- layer printer and an observing table. The light shines from the bottom allowing us to visually check for errors or confirm the right color on the medium we are working on. These are just basic equipment any printing services have.
This is another series of work that was hung on the wall of a work room. This is just an example of different color print jobs. I didn't quiet got to talk to anyone about it, but it looked beautiful enough to be in my camera.
This is one of the printers they had in a huge room. This is a separate work area. It's a one piece machine which works with one color at a time. According to the size of the medium, it is printing a job could last from anytime between 5 to 20 minutes.

This is an example of work gone bad. As I mentioned about on how the plastic was used to make the welcome sign; this work follows the same principle. While ready to print the medium has to be coated on a side the design is printed upon. By mistake this piece on the wrong side. After printing is wouldn't absorb the colors and hence we can all see how the colors just escape the design area. This is not only a job for the printer but is also a responsibility of the operator.

Adam is the designer who is mostly responsible for designing and editing the designs that comes to their workshop. He told me about the measures one has to take while working on a printer. We can see the design that went wrong due to a small observation mistake. These printers work as a overlay-4-color printer. I guess now I understand how different printers are compared to the ones we have in our lab.
One of their designs that came out of the overlay-4-color printer. It was a funny moment when I asked Adam why is it only in 'blue.' I am glad he laughed at my joke.
The actual company based name to this machine is APOGEEX, but it sounds very different. The two machines stacked side by side take up a small but most of the area of the room. It works as an image cutter. After a designed is finalized, it is sent to this machine. It uses rubber-blanket and uses off-set type. An inked image is transferred from a plate to a rubber-blanket then is printed on the surface. I remember it was programmed to print on a metal surface, which was as thin as any thick size paper.
Another view of the off-set printer. The Grey plate on the left top of this picture is the metal medium.
This is another huge area filled with nothing but computers. A lot of designs including bleed and binding are managed from this area.
Another large view of the smart machines. We can also see the piling of paper samples on the wall. These machines are far faster and better than the ones we have in our hall.
This is the main printing area. It manages most of the printing from designs of posters, flyers, book type, etc. They are also responsible to manage color. I really don't understand the process of printing, but besides it being a tedious job, it looks like a very good time killer and much fun. We got to learn about RGB and CMYK management.
This pictures reminds me of the workspace we have in Kiehle. I'd like to have a huge wall with all my supplies too. It'd definitely be handy to work.
Both the machine we see are 4-color type printers. They don't acutally crop pictures, but they also manage bleeding and spot-color handling. One of these machines also print and dry ink so the process is very fast and carefulness is always required.
Mr. Dave working with the 4-color printer. An actual electronic printer unlike the ones we saw in the previous picture. I got confused when he said he works with 1 or 2 color on this printer. I honestly am still confused even though I had it looked up online. Over it all, he was happy to pose for the camera.
Joel, was working with one of the actual machine printers. He was skeptical about his picture been taken at first, but when I told him I was part of the class he definitely smiled. The machine he was working on is another off-set printer. He said it was a sheet-bed press. It is almost like a letter press, but this machine only does a certain size printing and it seemed to work really fast. The designs are laid on a inverted surface which is then pressed upon the medium layer to obtain the right layer image.
This is Doug, standing in front of a booklet printer. Even though they look like three different machines they work as one. The work is lined down in the huge machines to the right. After that the small machine stacks them to form a booklet. The name of the machine was Duplo 4000.
The editing and cutting job of the papers is done with this cutter. Doug is also responsible for this task, but he mentioned it is any body's job who has the time managed around the work area.
At the end I just took a picture of this information board. Booklet and Bindery isn't an easy task. It isn't as simple as book making class. Both the booklet making and bindery had their working codes. The bindery services features folding, scoring, perforating and drilling services.
With Jeff, Adam, Dave, Joel and Doug; I had no idea only five people could manage so much work. I was busy taking pictures and talking to the employees, and I am thankful that they all took their time out to talk to us and show us their work environment. All in all I was a very good learning environment and time for all of us.
Also they were giving out free note pads, I grabbed a lot of them just so I can spend my time sketching on all over them.
 -
-


 This is an example of work gone bad. As I mentioned about on how the plastic was used to make the welcome sign; this work follows the same principle. While ready to print the medium has to be coated on a side the design is printed upon. By mistake this piece on the wrong side. After printing is wouldn't absorb the colors and hence we can all see how the colors just escape the design area. This is not only a job for the printer but is also a responsibility of the operator.
  Adam is the designer who is mostly responsible for designing and editing the designs that comes to their workshop. He told me about the measures one has to take while working on a printer. We can see the design that went wrong due to a small observation mistake. These printers work as a overlay-4-color printer. I guess now I understand how different printers are compared to the ones we have in our lab.


No comments:
Post a Comment